Please Note: Google recently upgraded their DKIM keys to be 2048-bit.
Unfortunately Namecheap doesn’t yet support the longer key length, although they say that they’re working on it. In response Google Apps now allows for the shorter 1024 key bit length, which I was (and am) using before the upgrade.
I look forward to upgrading my DKIM key to be 2048-bit and will update this post after Namecheap supports it.
Also a big thanks to the folks who brought this to my attention via Twitter: @jmbase, @amanjeev, and @mattdebouge.
Here are the steps I took to make this happen with my favorite domain registrar, Namecheap. If your DNS is elsewhere, fear not, as these steps apply to other registrars (and DNS hosts) too.
Please Note: You may also want to consult this post, Authenticate email with DKIM, while you set this up.
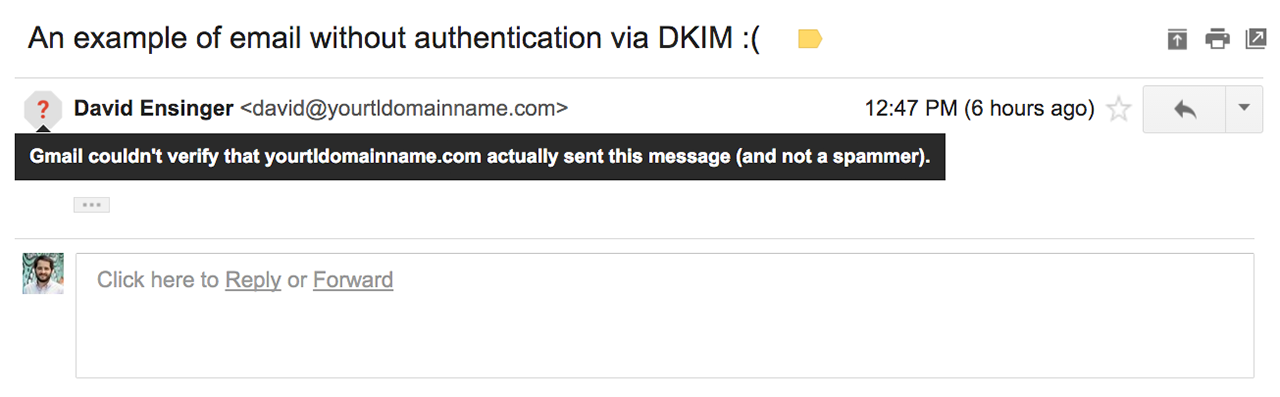
Unauthenticated Email
This is an example of what I was unknowingly sending folks:
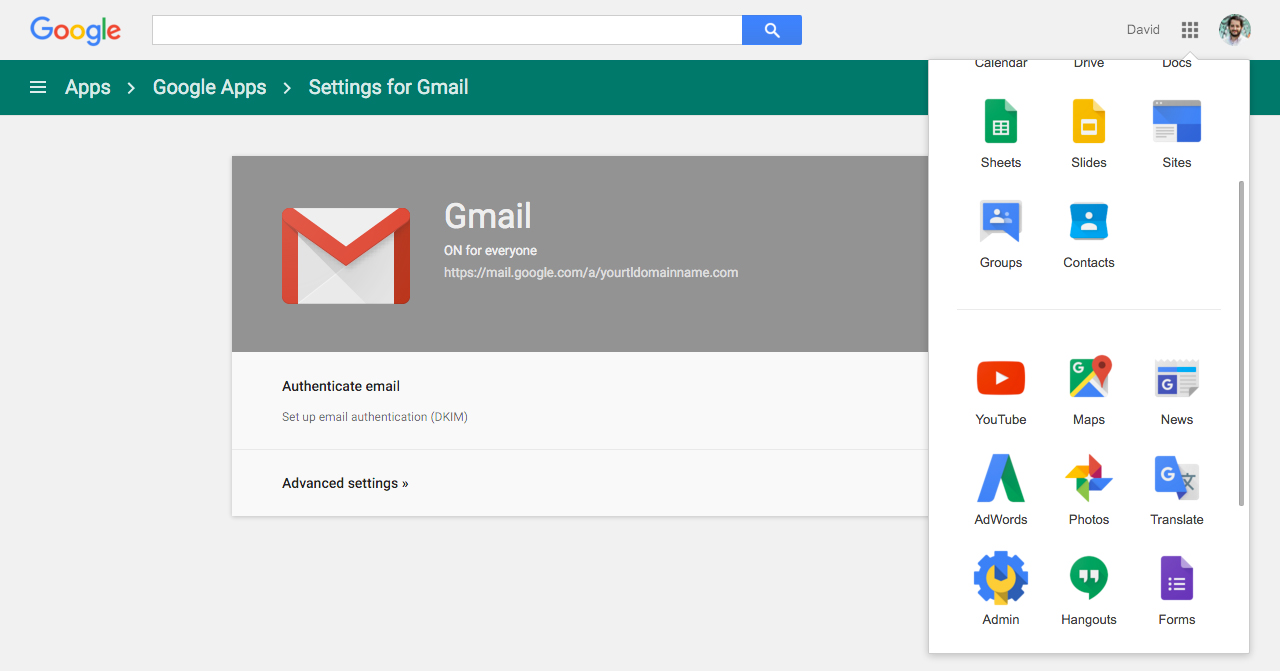
The Google Apps Gmail Admin Area
The first step is to login as the administrator to your Google Apps account. I seldom change any of the settings, so I always feel a little lost trying to find the right page. Here’s the path, current as of the publishing of this post:
Admin (or Admin console > Apps > Google Apps > Gmail > Authenticate emailHere is an edited (for clarity, I hope) photo that shows you the general area of the settings that you want:
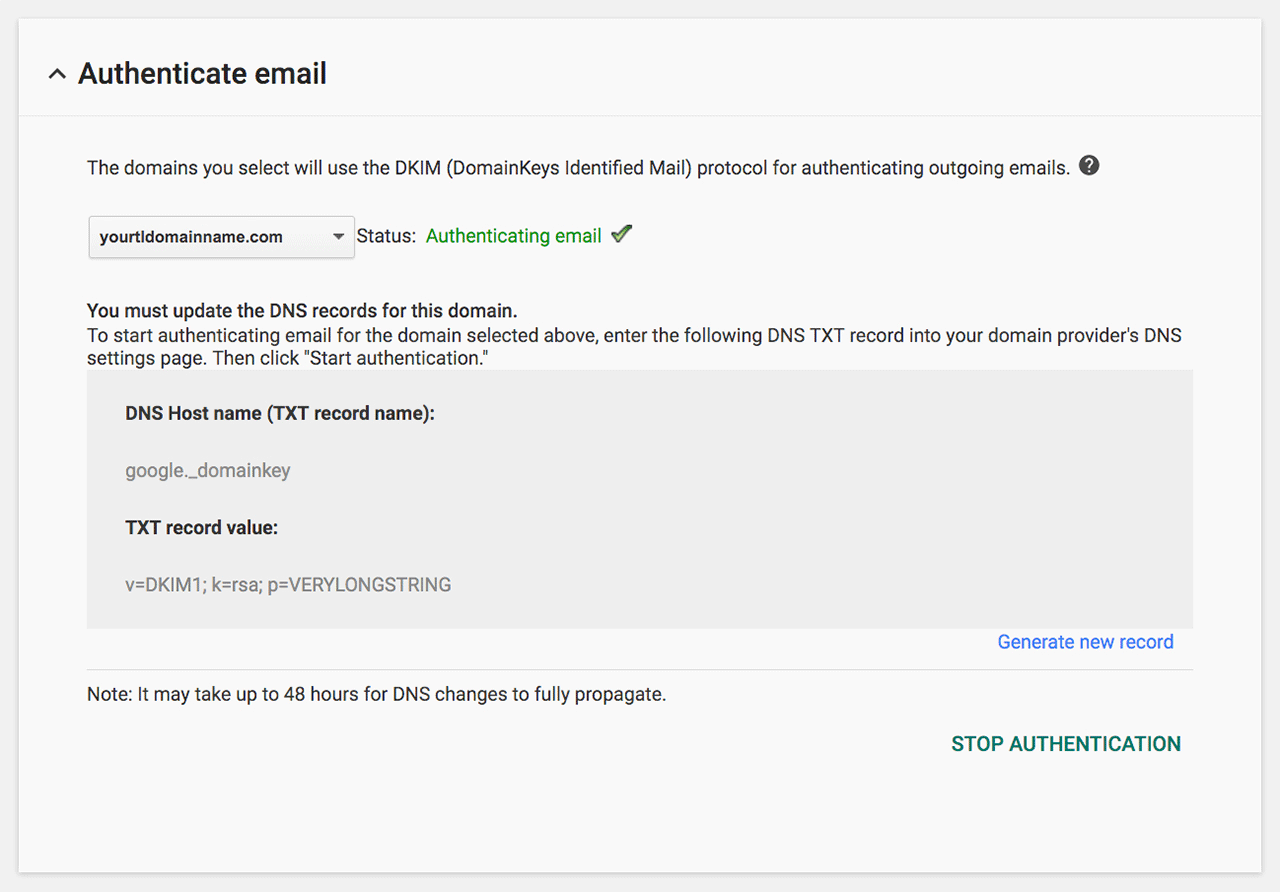
Generate the Domain Key
Some things to note here:
- Select the desired domain
- Generate a new record and optionally edit the DKIM selector prefix. I kept mine as “google” because I don’t have very many records in my DNS.
- Please note that there will be a very long alphanumeric string, although I’ve edited my screenshot to just read “VERYLONGSTRING”
- Also ignore the fact that this screenshot confirms that the authentication works. I should have taken an inital screenshot, but neglected to do so. Once I had it working I didn’t want to turn it off.
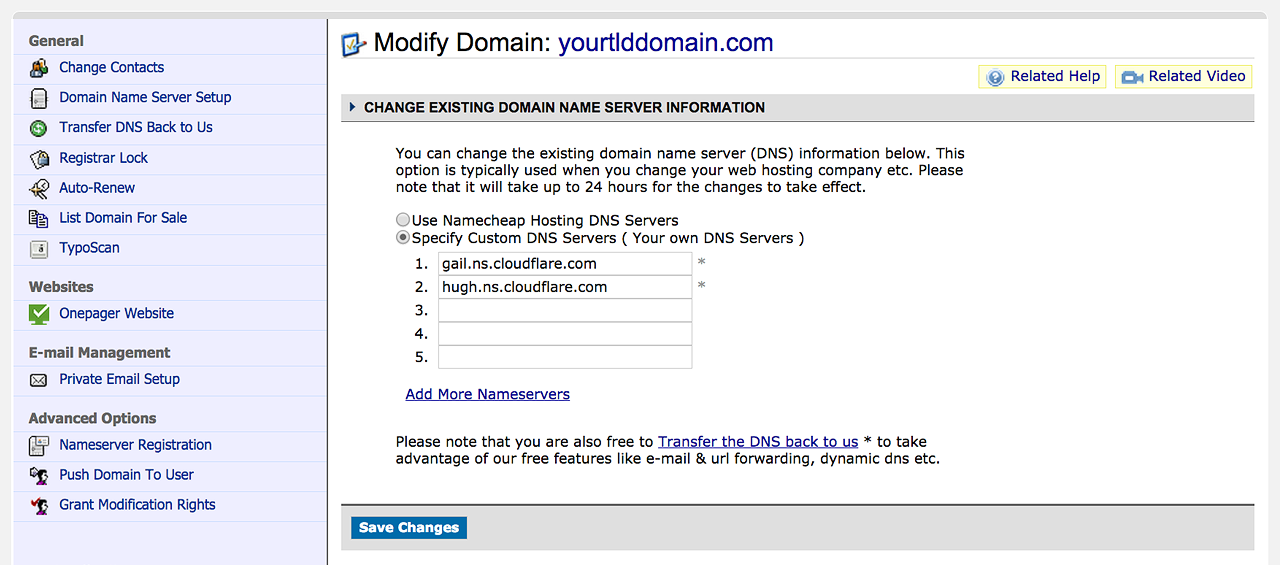
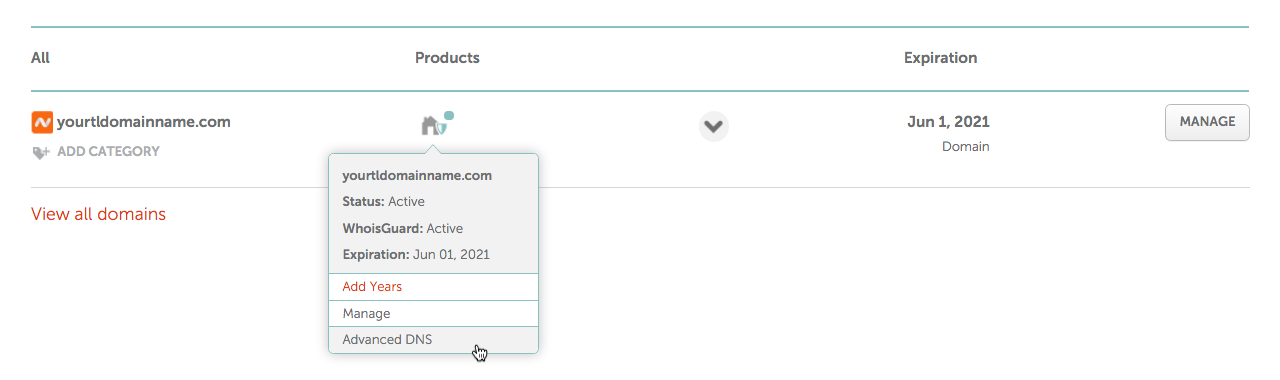
The Namecheap Dashboard
Now that you’ve got the two required values, you’ll want to log into Namecheap to navigate to the “Advanced DNS” for your domain:
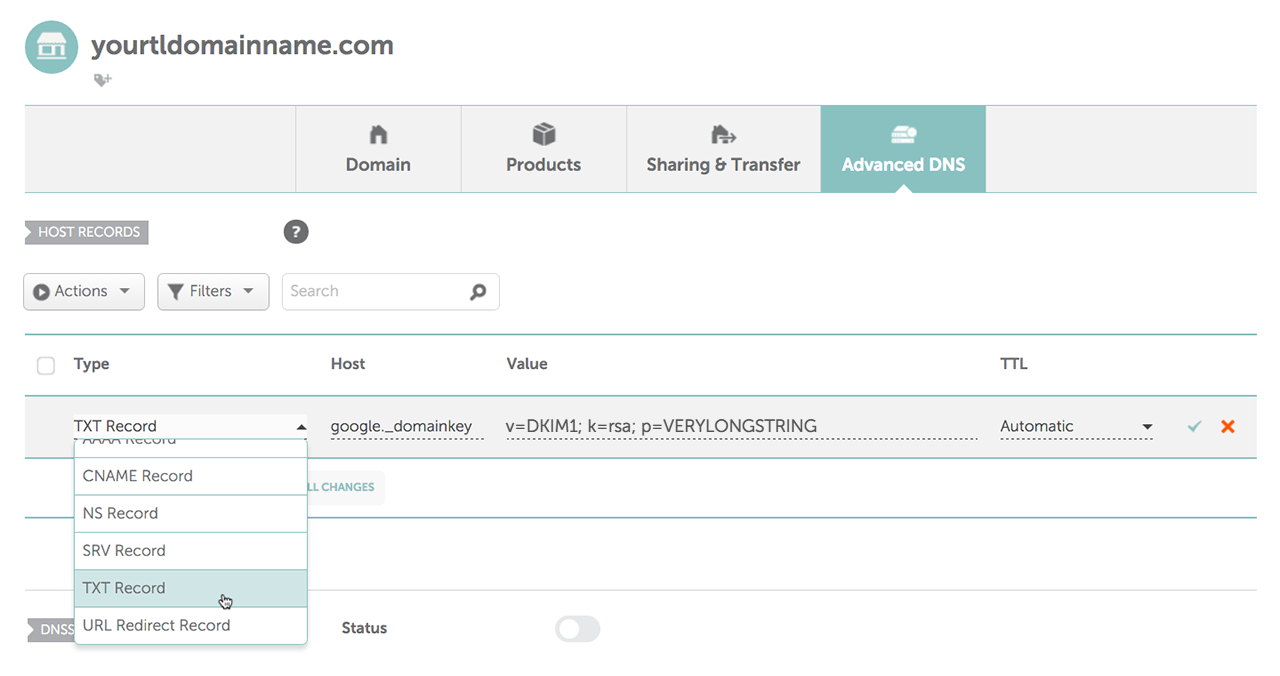
Adding a TXT Record
Once there, click the “Add New Record” button and select “TXT Record” from the dropdown menu. Paste the appropriate values into the “Host” and “Value” fields and then save them with the green “✓” icon.
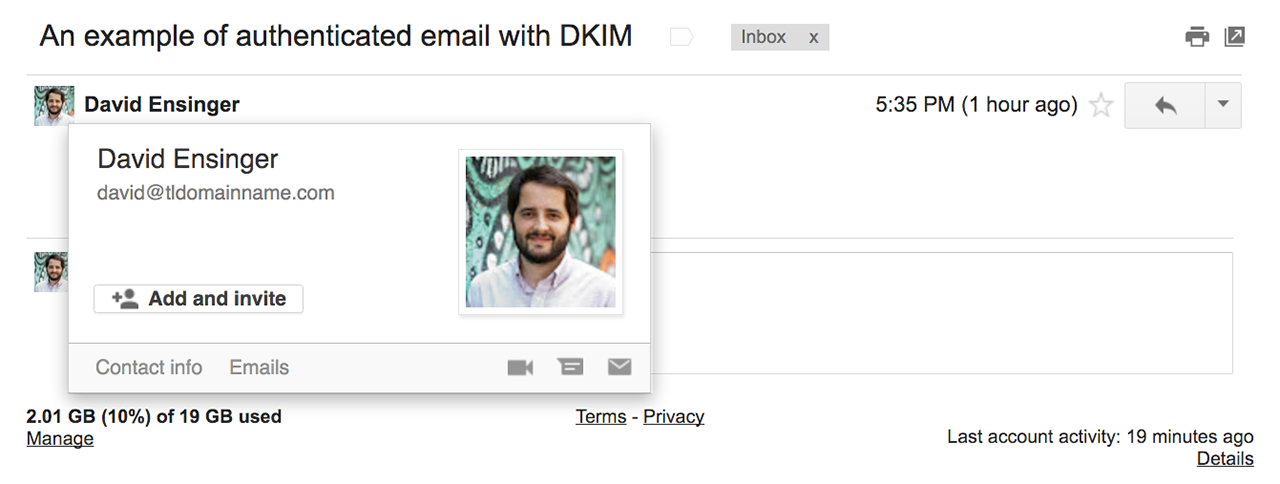
Successful Authentication
Once the DNS propagates, you’ll see the green “Authenticating email ✓” (see my above screenshot) and you’ll be good to go, err authenticate!
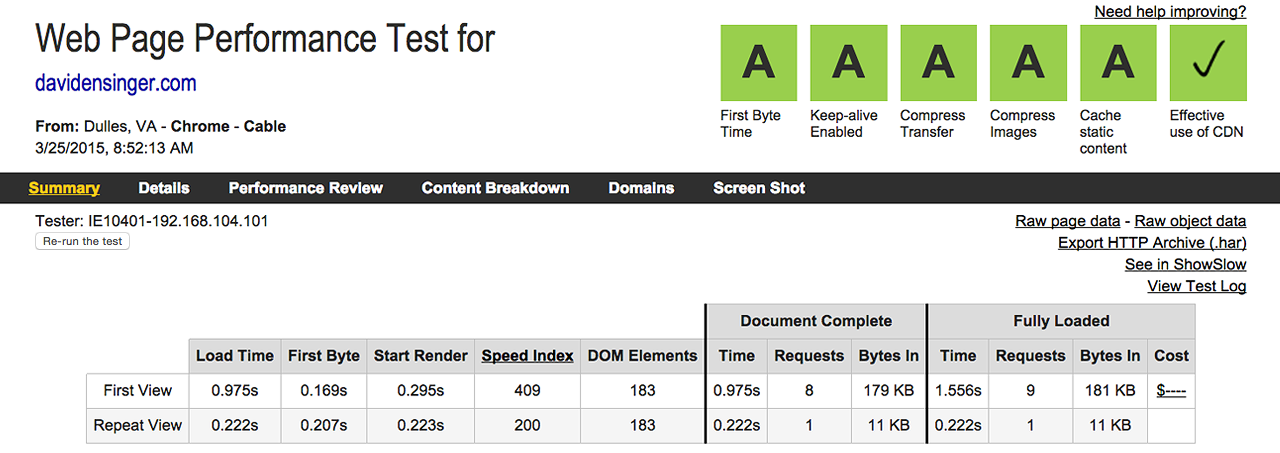
You’ve just read about Authenticate your Google Apps’ Gmail with DKIM and Namecheap DNS on Development, design, and more by @DavidEnsinger.
If you’d prefer to receive your updates in tweet form, please follow me on Twitter, otherwise I hope you’re enjoying the feed!
]]>